Setup Email Signature
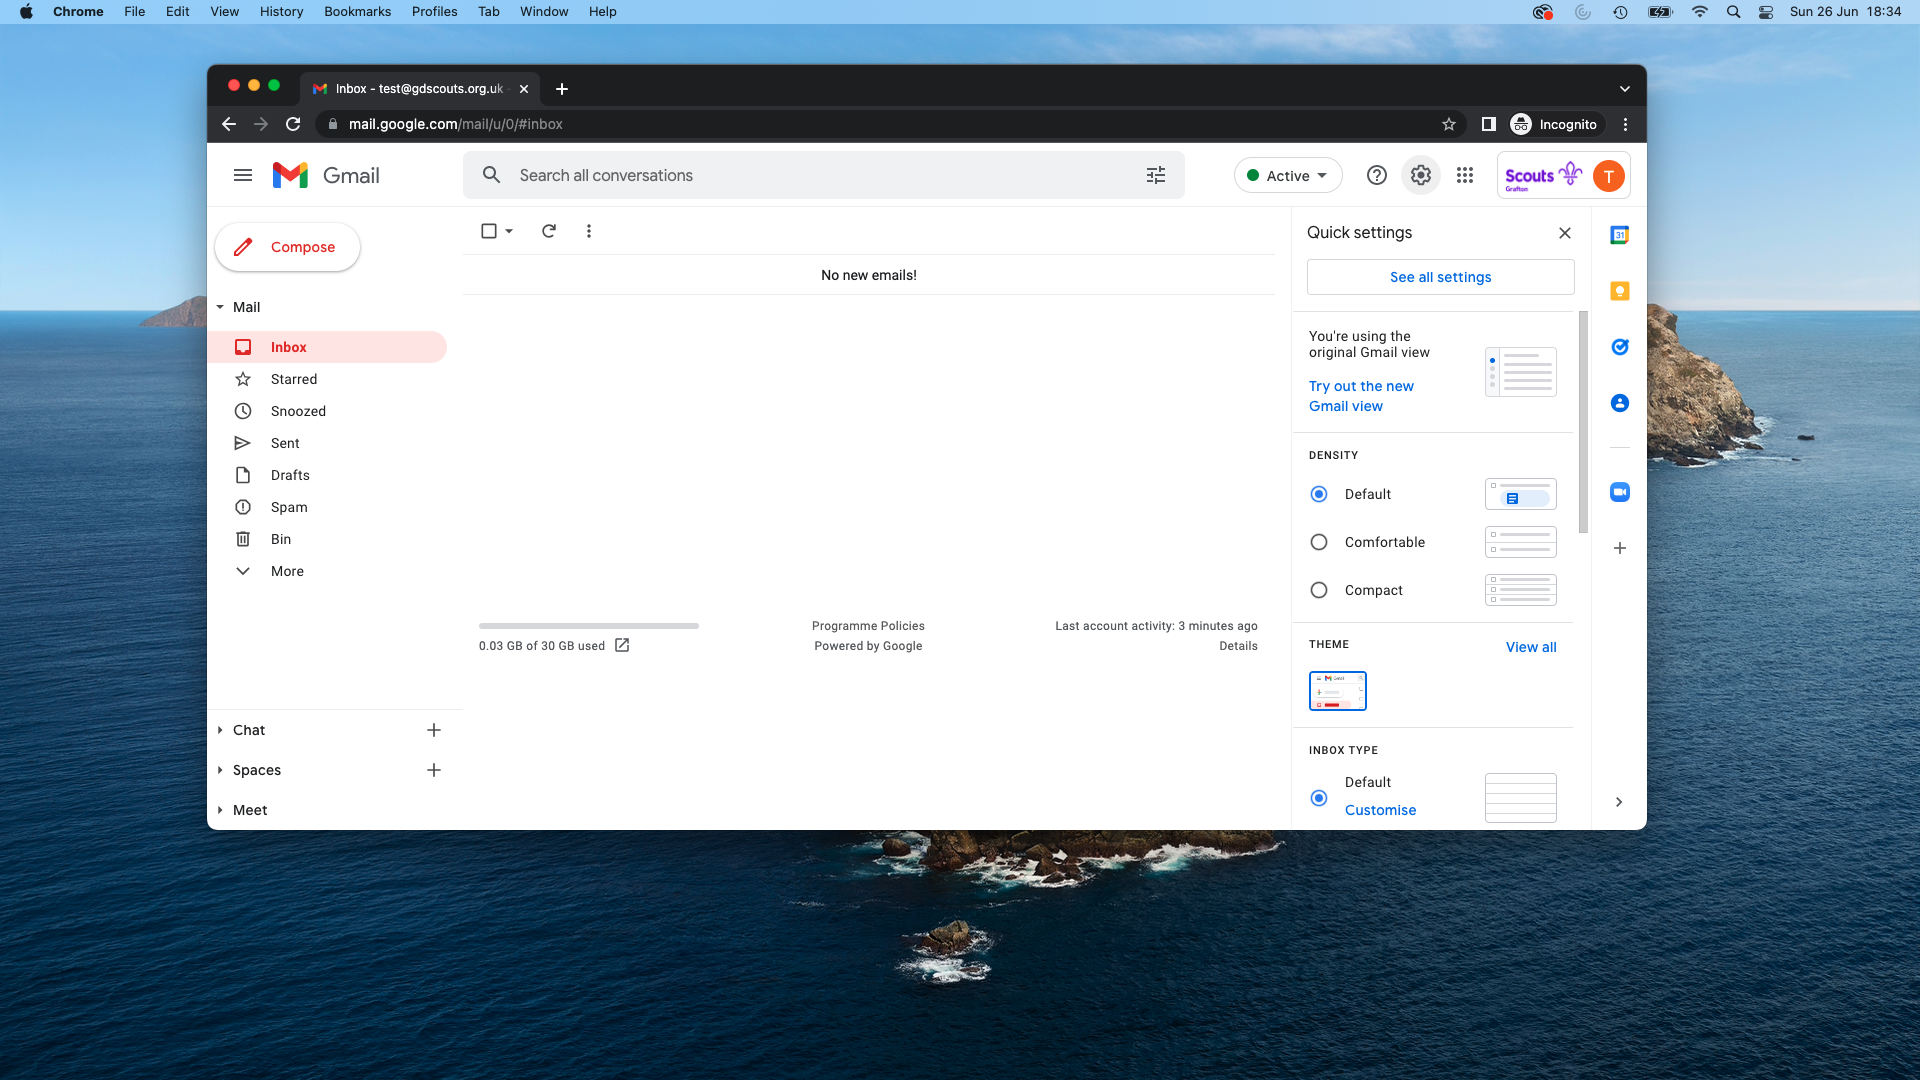
When logged into your account on a desktop via mail.google.com, click on the settings cog in the top right hand corner of the screen and then select “See all settings”
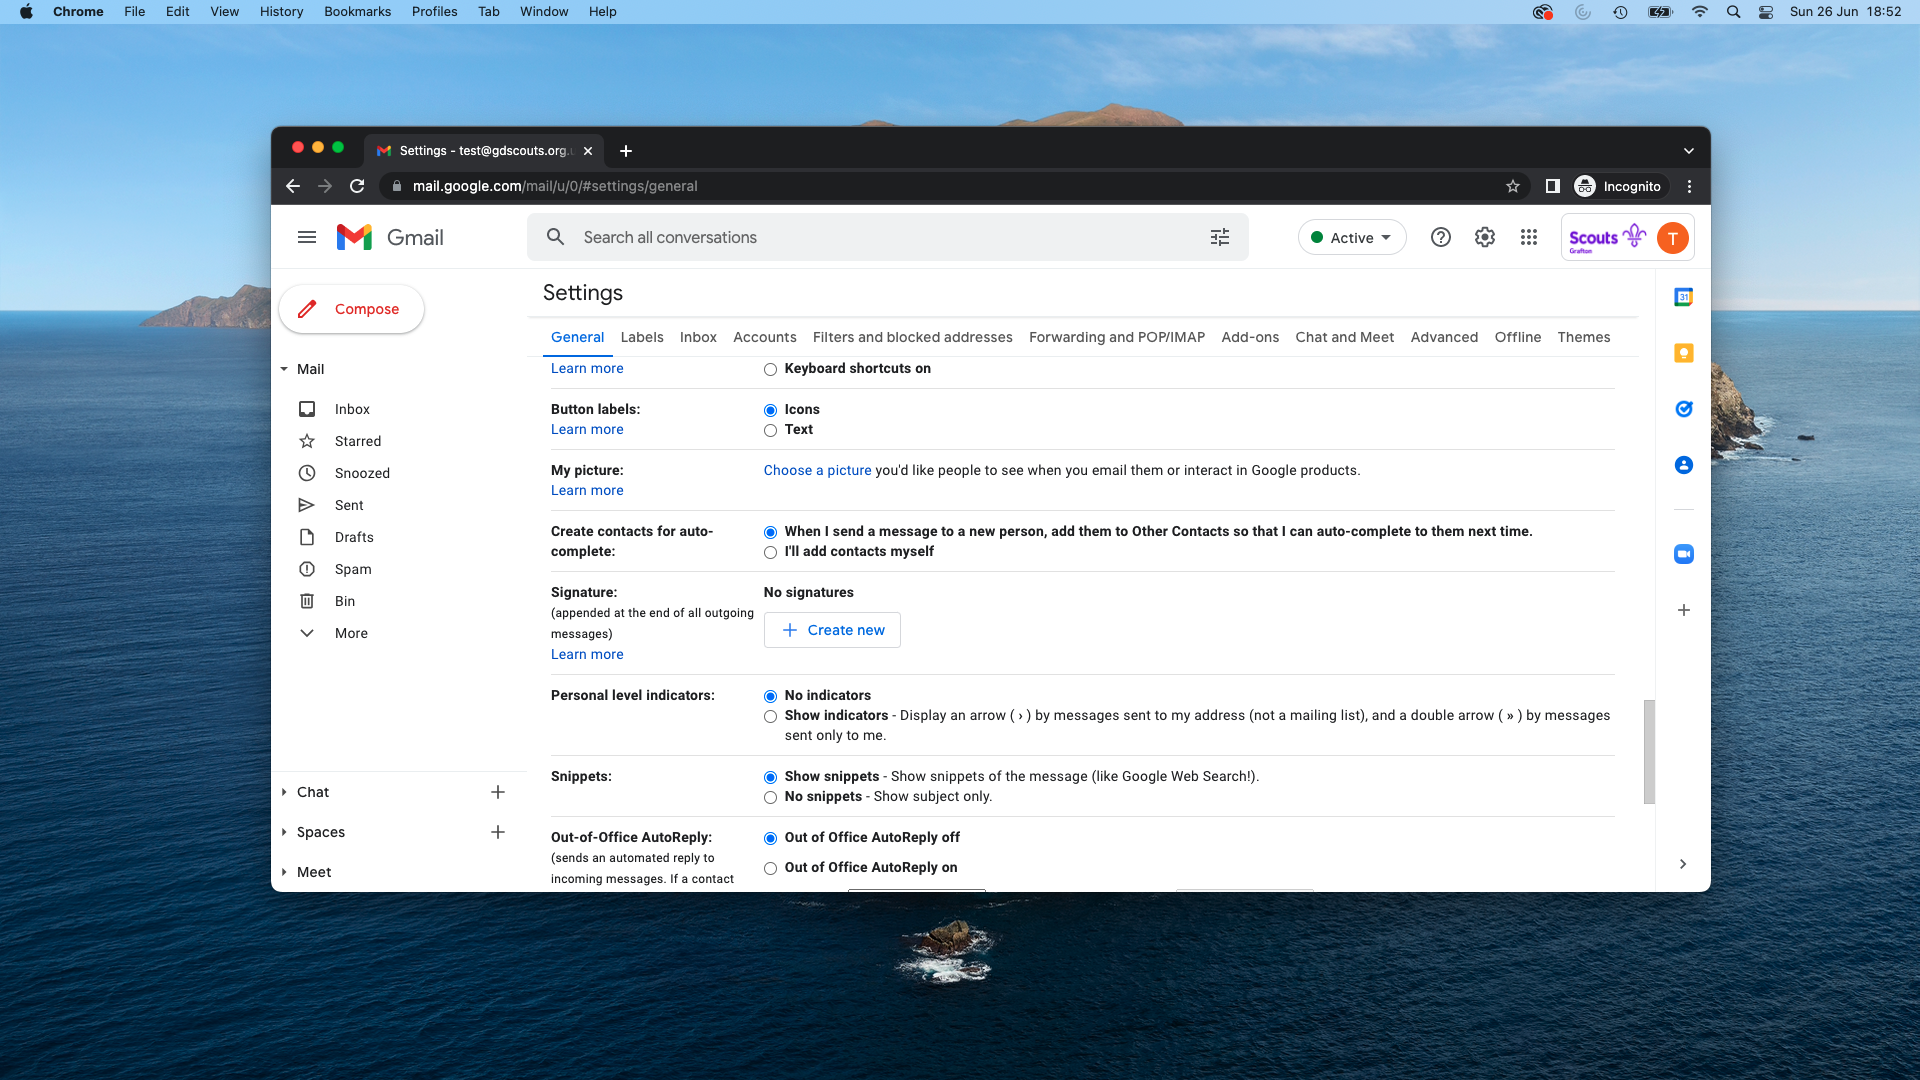
Once in the Settings menu, scroll down the “General” page until you see the “Signature:” row. Click on “+ Create new”

You will be asked to give your signature a name – this is especially helpful if your account has multiple aliases and you want a different signature for each alias. Type in a sensible name and press “Create”

Copy and paste the following into the box that has now appeared and edit them to your details:
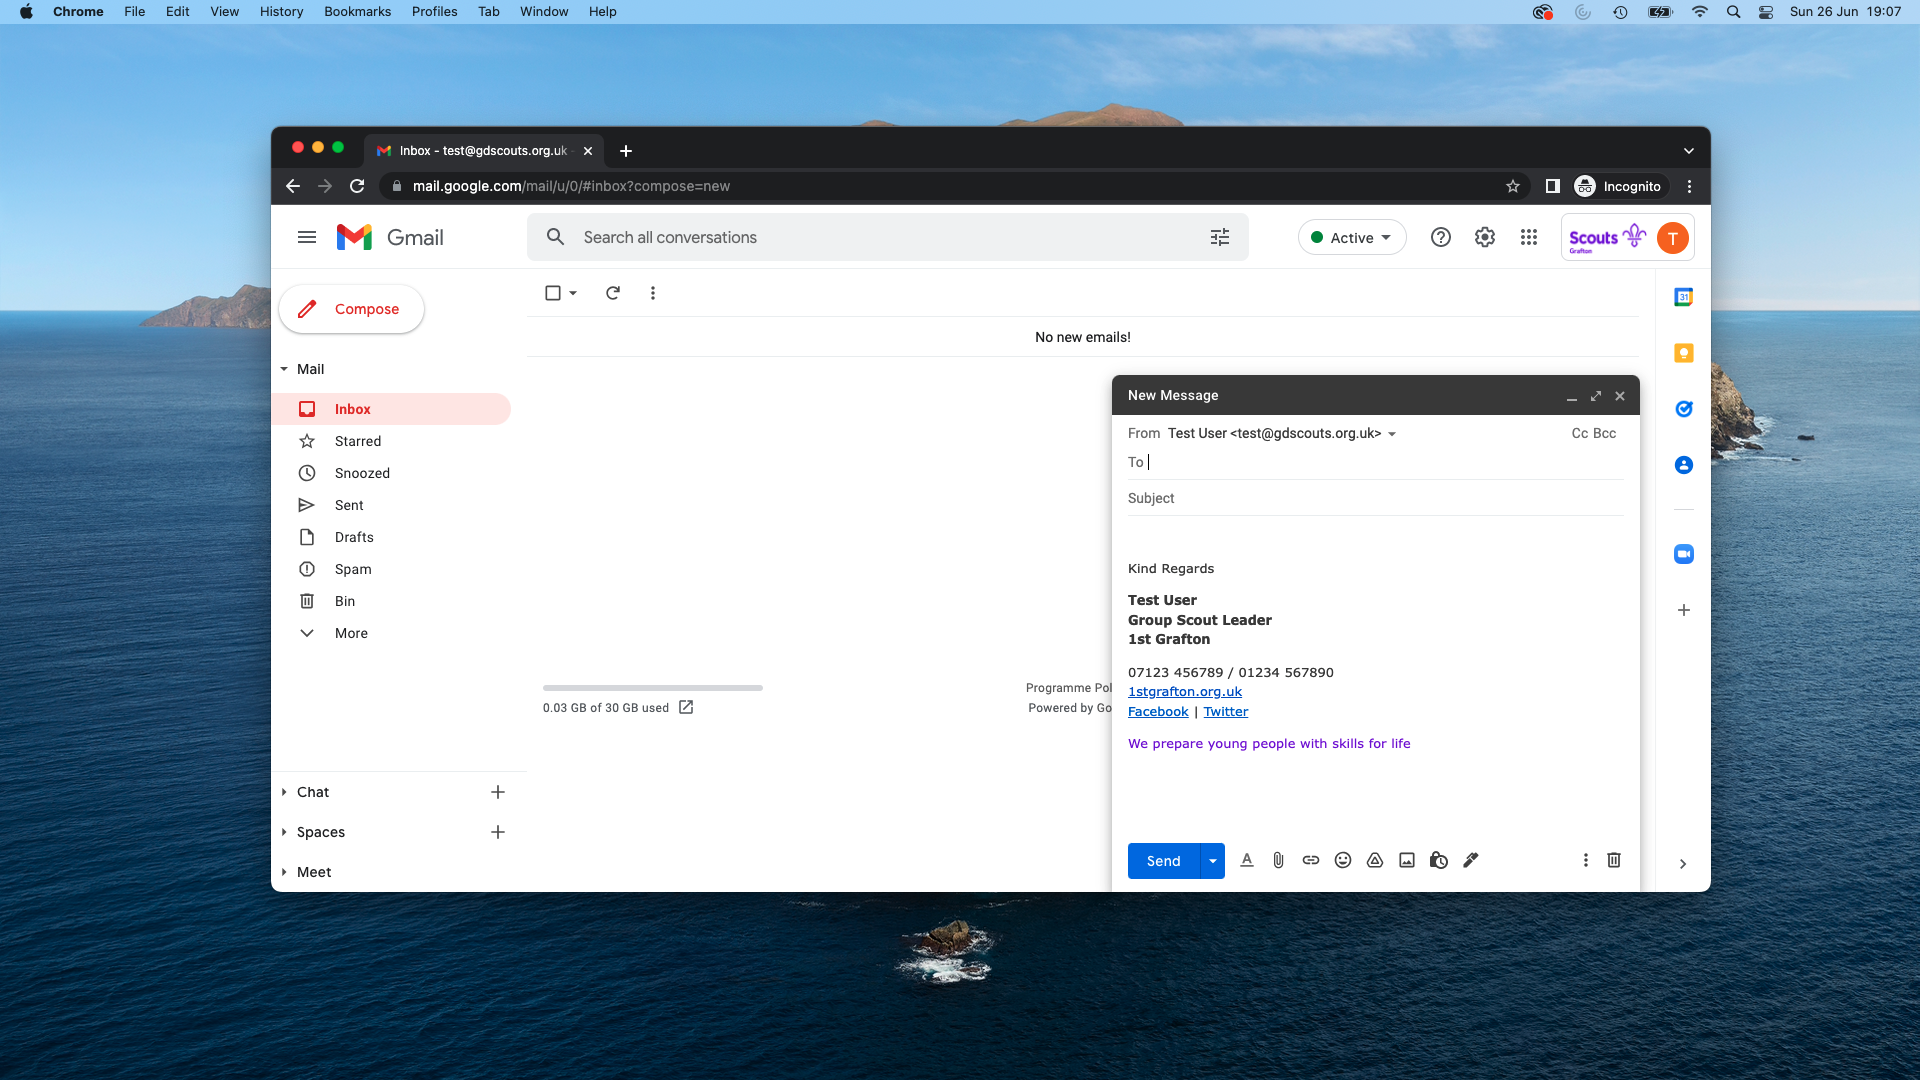
Kind Regards
[Name]
[Role]
[Group but please don’t include “Scout Group” afterwards! e.g. 2nd Grafton]
[Phone Number, separated by “/” if including multiple]
[Group Website URL (and make it a link after!!]
Facebook | X [Change these links to your own Social Media profiles, add others if you have them but delete if you don’t]
Registered Charity Number [XXXXXXX – delete this whole line if your Group isn’t a registered charity]
We prepare young people with skills for life
A true life example of this is:
Kind Regards
Joe Bloggs
Group Lead Volunteer
2nd Grafton
07123 456789
2ndgrafton.org.uk
Facebook | X
Registered Charity Number 123456
We prepare young people with skills for life
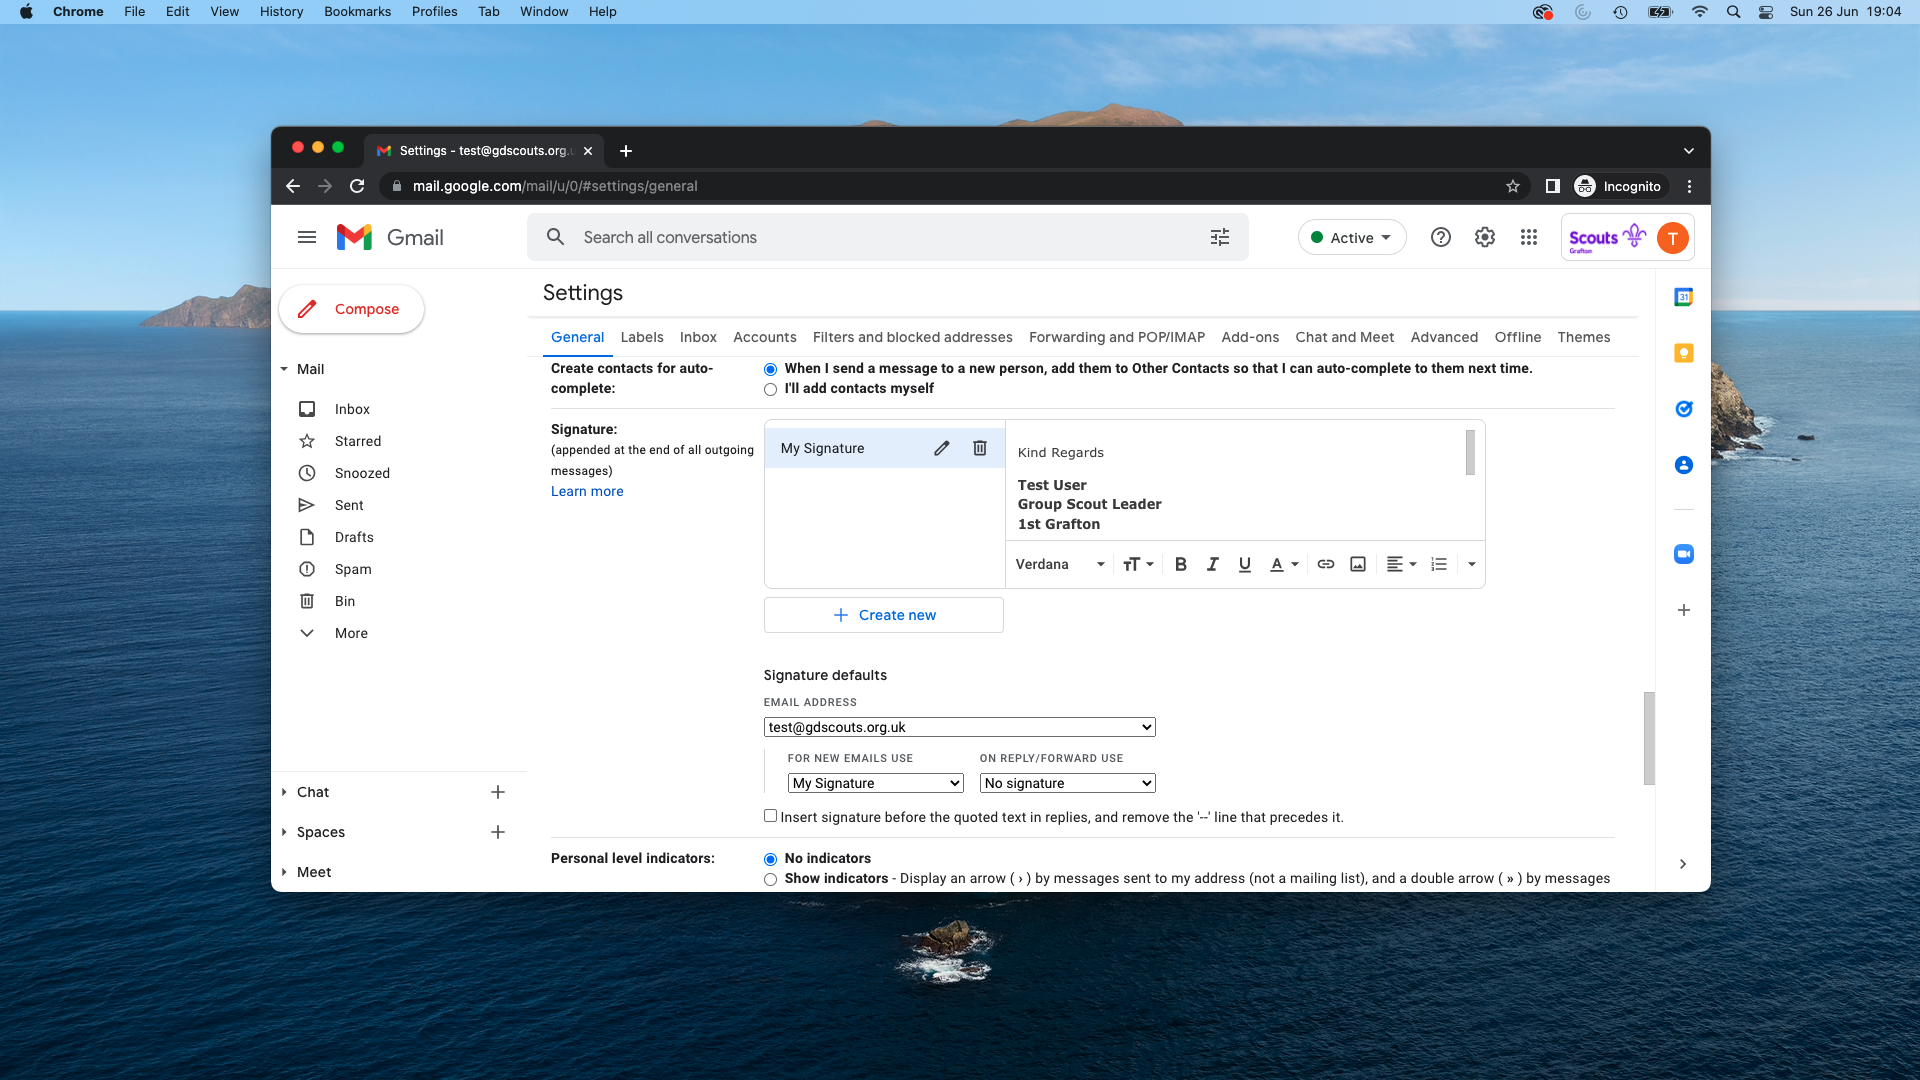
If you’ve already setup your aliases, which we suggest you do (if you have any) before adding your signature(s), you will now see this drop down. It’s basically asking you which signature to use for which email address. We’d also suggest ticking the box that says “Insert signature before the quoted text in replies, and remove the ‘–‘ line that precedes it.”
Scroll down to the bottom of the page and press “Save Changes”
When you now compose an email, you should see a signature automatically there! If you have multiple signatures and want to change which one you use, or simply want to remove it from this email, click on the pen icon in the toolbar and select the relevant option.